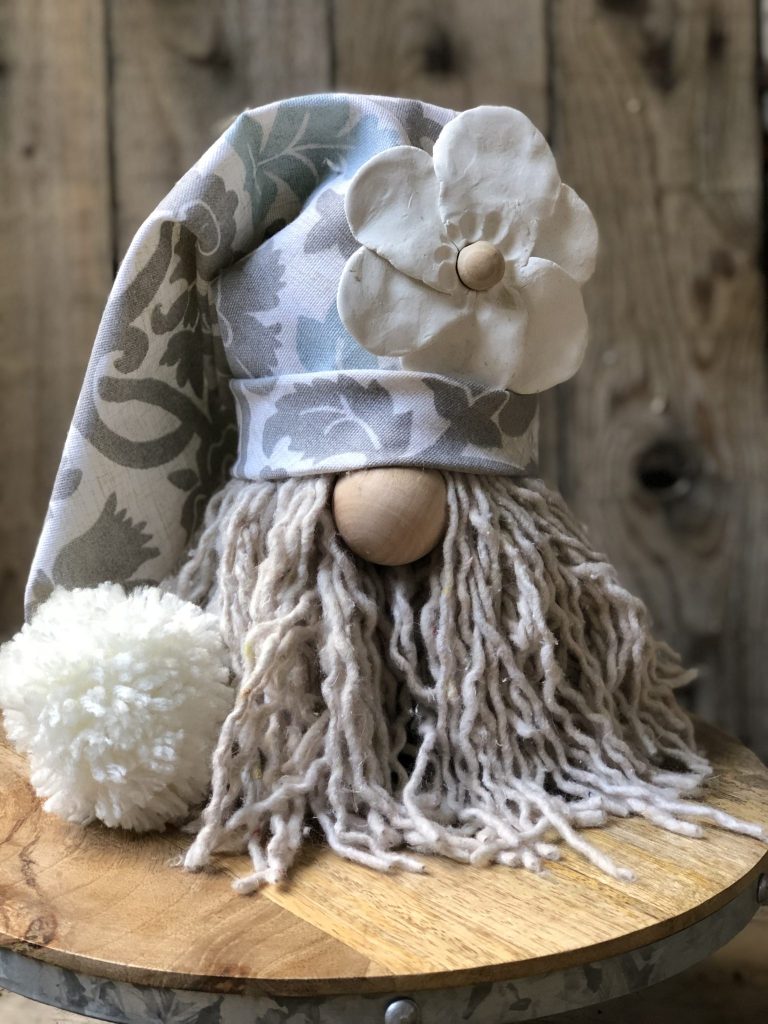
Floppy Ears Easter Bunny Gnome DIY
Time to make Easter spring gnome diy! I can’t believe I am thinking about another gnome! Gnomes are soooo addicting! As I was scrolling through Pinterest the other day I decided to make an Easter/ Spring Gnome. Those bunny gnomes diy’s are so cute!! Just because we have a bunny at home it is no brainer that my gnome needs to have some kind of cute ears…. I am going to attempt to create a floppy ears Easter gnome thanks to that little fella below that was actively searching ideas with me. Let’s work on Dollar Tree floppy ears Easter bunny gnome diy
Here is our almost 2 year old Hazel that likes to hang around with us. Isn’t she cute?

This post may contain affiliate links. This means that if you purchase from one of the these links I will make a small commission, but rest assured you will not pay more for any products.
Supplies needed to make a floppy ears Easter gnome
- Styrofoam cone
- Fur strip
- fabric ( I used inexpensive drop cloth)
- wooden bead
- hot glue gun and glue sticks
- raffia

Make sure to check those easy planters tutorial HERE I promise they are soo fun and easy to make.
How to make a bunny gnome
So supplies are together and it is time to assemble all

Directions on how to make floppy ears Easter gnome bunny
To begin you need to cut a strip around 10 inches wide out of your fabric long enough to wrap your cone around. Measure around 4 inches out of that strip and make a cut for our ears. Repeat that on both ends as it shows in the picture below.

Wrap your cone with fur strip and secure that with hot glue. Adjust length of wide strip of your fabric to a size of your cone so that will wrap it loosely over the the cone covered with fur

Fold bottom of your hat and secure it on the back with hot glue. Love to leave a little fold on a hat so I can add additional embellishment if there is a need without using any of hot glue. Easter spring gnome diy is coming together

Do you see those ears? They make sense now and hopefully will look good once finished. So exciting

If you follow me for some time you know that I like to add little details into my projects. My favorite embellishments are made with lace or satin. Just because my gnome hat is made out of stiff linen painters drop cloth I think lace in the similar color will help me dress it up a bit. Easter spring gnome diy is taking its shape already! Can you see a bunny?
Ta Daa! Can you see floppy ears bunny gnome hat?

As with everything my embellishment was loosely secured on the back with dab of hot glue. I like to change my mind sometimes so safe playing is my way to go.

Couldn’t be happy with results so far. Now it is time to work on those ears. There are so many ways that you can go around that. You can use twine and decorate with a bow, you can use robber bands too. I decided to simply tie a knot right at the top corners of my hat and thought it would be easier but let me tell you something … it was a small struggle. I think my problem with my bunny ears were only thanks to stiff fabric I was using.


It is time to work on our bunny gnome nose with some whiskers. Wooden bead 20mm with a bit of raffia will serve beautifully I think.
I think wooden bead nose looks awesome!

I can’t wait to start to style with my bunny gnome!


It is another must try gnome. Check all details HERE


Love to make bunnies. Check this cute version I made HERE

Make sure to check those awesome tassels that can also serve as cute Christmas Ornament. Full tutorial HERE

Please Save This To Pinterest or Share on Social Media
Friends, your shares are how this site grows and I am sincerely grateful. A quick share to Facebook or save to Pinterest allows me to bring more home decor projects and crafts to more home decor DIY lovers

Check out our other Blog posts
Rustic Book Pages Heart Garden DIY

How to make Adorable Dollar Tree Gnome DIY


5 Comments
Michelle
This is the best gnome I’ve seen! He’s adorable!! Pinned this!!
Pingback:
Pingback:
Pingback:
Pingback: