Pine Cone Gnomes Christmas Ornaments -DIY
Pine Cones are my favorite to decorate with during holiday season. They make perfect ornaments. They are absolutely free! Who doesn’t love pine cone ornaments? You can easily find them at this time of the year just need to go for walk! Collect them in a various sizes as you are outdoors. They will come handy I promise! Just because my last craft was Dollar Tree gnome I decided to make mini gnomes to keep my little gnome-dud happy. Let’s make more Dollar Tree Christmas ornaments

Don’t you think he needs some company? Plus I still have some floor mop pieces left. If you missed that blog post check HERE and see more details how I made him
So lets go to work! Let’s make some ornaments!
Things you will need to make a mini pine cone Dollar Tree Gnome Christmas ornament
- Dollar tree mop
- Pine cones
- Wooden beads
- Twine
- Wide Burlap ribbon
- Hot glue gun with glue sticks

So let’s begin! Let’s cut couple of our Dollar Tree mop strings and create our little gnome beard.

I like to fold them into 3 equal parts and secure them with a twine just like it shows on the picture below

It is now time to get our cone ready. Slip longer piece of twine under first top layers of pine cone “scales “

Attach beard with hot glue to the top of the cone.

Cut a rectangular piece out of your burlap or any other fabric and place your pine cone in the middle. Make sure that rectangle wraps it nicely before your start to glue it

Fold one side of ribbon over our gnome beard and then wrap pine cone with the other one just as it shows on the picture below


Glue wooden bead right under ribbon

I like to dress up my gnome hat a bit so I decided to make a simple Criss -cross bow out of scraps of my burlap.
In my case now scraps were too big so I had to cut them in half


Love that little craft so I made few of them and here they are


If you enjoy making gnomes you may want to check this tassel Gnome Ornament HERE. Super cute project to make.
PERFECT PAIR!!
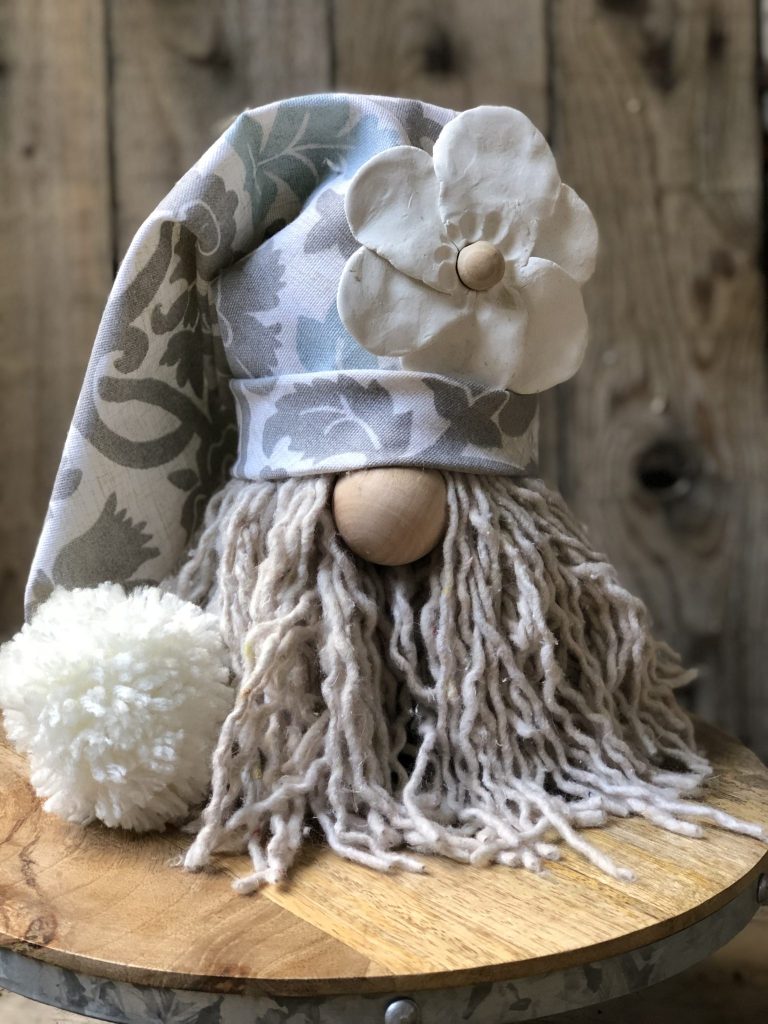
Check below this Dollar Tree Mop Gnome I made. How cool will they look together. With a change of embellishments this gnome can stay on display year round . All details HERE
Reversed burlap with clay daisy that I also made. You can find that post on my blog

Please Save This To Pinterest
Friends, your shares are how this site grows and I am sincerely grateful. A quick share to Facebook or save to Pinterest allows me to bring more home decor projects and crafts to more home decor DIY lovers.


Here is another angel gnome I made on Dollar Tree budget


Please Save This To Pinterest
Friends, your shares are how this site grows and I am sincerely grateful. A quick share to Facebook or save to Pinterest allows me to bring more home decor projects and crafts to more home decor DIY lovers.


14 Comments
Pingback:
Pingback:
Pingback:
julie karge
I love these, but I had the hardest time with the hat, So I just took the mop in 10’s folded them in half, tied them together and placed /glued the hat on. Then attached the nose. Was a lot lighter and faster. wish I could craft like you.
justthatperfectpiece
That is also a great idea! Hat was my issue too for a looooong time. Have you checked my other gnomes I made?
Pingback:
Pingback:
Pingback:
Pingback:
Pingback:
Pingback:
Pingback:
Mars
How many strands of the mop head did you use?
justthatperfectpiece
Just few .. I actually folded them in half too