Rustic Wood Lantern DIY
I am afraid I need to admit to you that I have a small addiction to lanterns. Have tons of them in my house but lately I started to make my own. I made them out of so many different materials… Definitely one day I need to dedicate one post on my blog to show them to you. Today I like to make a Rustic Lantern out of wooden paint stir sticks. Have you made one already? Paint stir sticks are perfect crafting material. They are making so many cool projects. Shall we make easy wood Lantern DIY? Paint stir sticks project sounds so good to me. Another Dollar Tree decor diy
If you follow me for some time you know that my latest project that I completed were placemats and shutters made out of those sticks so I had so many left. You can read about that project HERE. I am really so proud of that paint stir project.
How to Build Plantation Style Shutters on the Budget

Items needed to make Easy Rustic Wood Lantern
This post may contain affiliate links. This means that if you purchase from one of the these links I will make a small commission, but rest assured you will not pay more for any products.
- Paint stir Sticks ( 1 galon) 2 packages
- Wooden Dowel Rods ( purchased mine at Dollar Tree)
- wooden rectangle piece
- Hot glue gun and gorilla glue sticks
- Paint of your choice
- Jenga Blocks ( purchased mine at Dollar Tree also)
Let’s go to work shall we ? I am going and try to use what I have to make my lantern. Paint stir sticks project

How to make a Rustic Lantern
After a quick look what I am dealing with I decided to touch up some of my paint stir sticks with brown acrylic paint to slightly even all out and paint my rectangular wood piece to have all uniformed look.

As you can see they do show original color in some areas so my goal was just to cover all up

- I really didn’t bother to cover all completely because I will be dry painting it over it with lighter paint

–
–
- Folk Art Texture Chalk paint was my choice .. I am all about texture lately a lot plus all those color unevenness will be nicely covered
- I enjoyed that paint so much and the way all was turning out that I decided to cover them even more. When paint dries properly it is finally put some hot glue into use and connect paint stirs together and start to create wooden lantern. You would for sure like to use gorilla glue sticks for that step to make sure all is nicely and securely attached for a long time use.

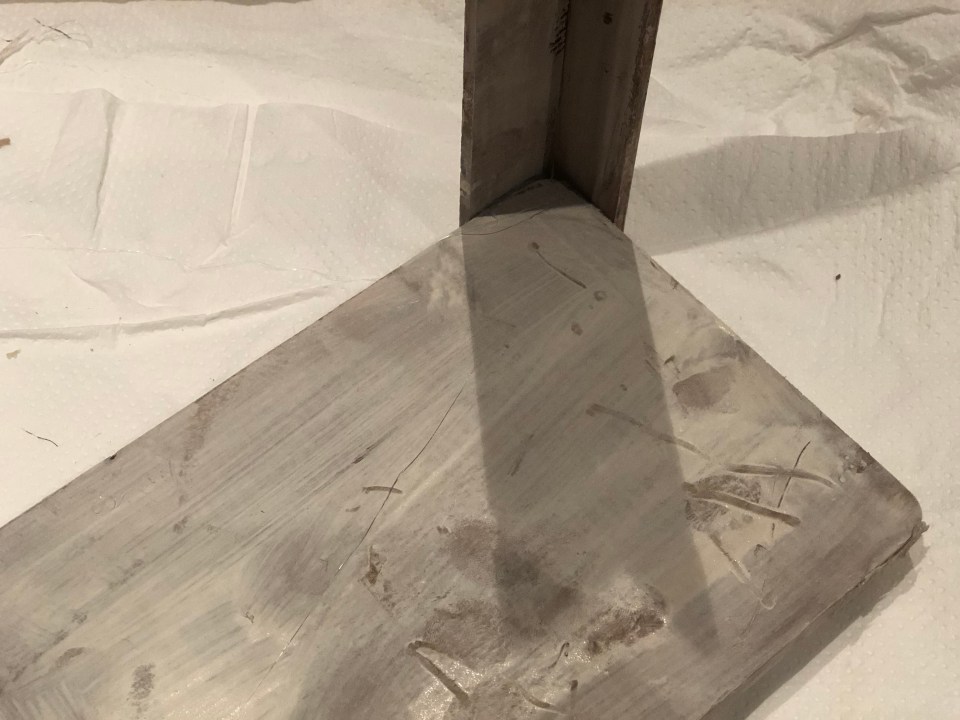
- As you know we need 4 set connected on 90 degree angle to build our easy wood lantern. I chose to connect my paint stir sticks with its indentations on the same height to keep them looking more uniform.

- Time to start our assembly and attach your freshly glued paint stir sticks to a corners of your rectangular piece of wood that will serve as a base to your easy lantern.
Lantern assembly

- When “arms” are done it is time to install pieces of paint stir sticks that will run across and bottom of our lantern construction to make all secure.

Couldn’t be pleased with the way my lantern is forming. Absolutely love its rustic feel. I can already see it in a vignettes in my house.

- Time to install my dowel rods on each panel of my lantern in the criss cross pattern.
it is really looking good with that small detail …don’t you think so ? it doesn’t really show that much that this is paint stir sticks project with all those details and rustic paint finish to it.
Few Jenga block laying around my craft area completed my lantern look. Sometimes it is good to have things laying around. Few days ago we made a Jenga blocks lamp .You can read about Jenga blocks lamp HERE
Dollar Tree Jenga Blocks Lamp DIY

I was right … those tiny blocks bring a lot to my lantern.

Just because my base color to my paint sticks was dark I decided to use darker blocks out of my bunch so I would only have add a coat of my texture chalk paint to achieve similar look. After all dried I glue them together in pairs and attached them to each corner of my lantern structure.

and my Paint Stir Sticks Wood Lantern is done. Completely satisfied with its Rustic feel! It goes beautifully with my shutters that I also made out of sticks but out of combinations of 3 different sizes. You can read about that HERE

It is not going to be easy to make my decision on how to style my new lantern .. All that I know is that I have options …lots of options to decorate with and around them. Love good Dollar Tree decor diy

if you are curious on how I made those apples check my tutorial on Dollar Tree Flowers that were used in this project. More details HERE


Perfect Dollar Tree decor diy. I know they will good with these candles

Please Save This To Pinterest or Share on Social Media
Friends, your shares are how this site grows and I am sincerely grateful. A quick share to Facebook or save to Pinterest allows me to bring more home decor projects and crafts to more home decor DIY lovers

Some other Rustic ideas on my BLOG and my YouTube Channel


