How to Make a Paper Bow
I can’t believe I am going to make a post about bows ..lol. This one is going to be for sure special one! if you follow me for some time you do know I love to add flowers or natural elements as gift embellishments. You also know that I love paper crafting. My Mom was Master at that so I decided to share with you special paper craft. Today I like to share easy paper bow tutorial that you can for sure use for gift wrapping. Are you ready for easy paper bow origami? Paper bow tutorial diy coming up
Supplies needed
- paper .. any paper.. book pages, wrapping paper ,copy paper or even a junk mail would work
- glue (optional)
How to fold easy paper bow
I am going to use my copy paper to show you easy steps. Let’s begin our paper bow tutorial.
- fold your paper diagonally to start with a square

Rotate 90 degree fold another angle ,crease well and unfold. Fold your square in half on all sides as it is shown in a picture. Flip your paper over and make sure all your creases are nicely folded. It is important.


Turn you paper to ” diamond position” and follow the creased lines. and fold your paper like it shown in the pictures below. You are going to end up with square again (pic3)


Fold your folded tip about 1/2 inch down like the picture below, crease well


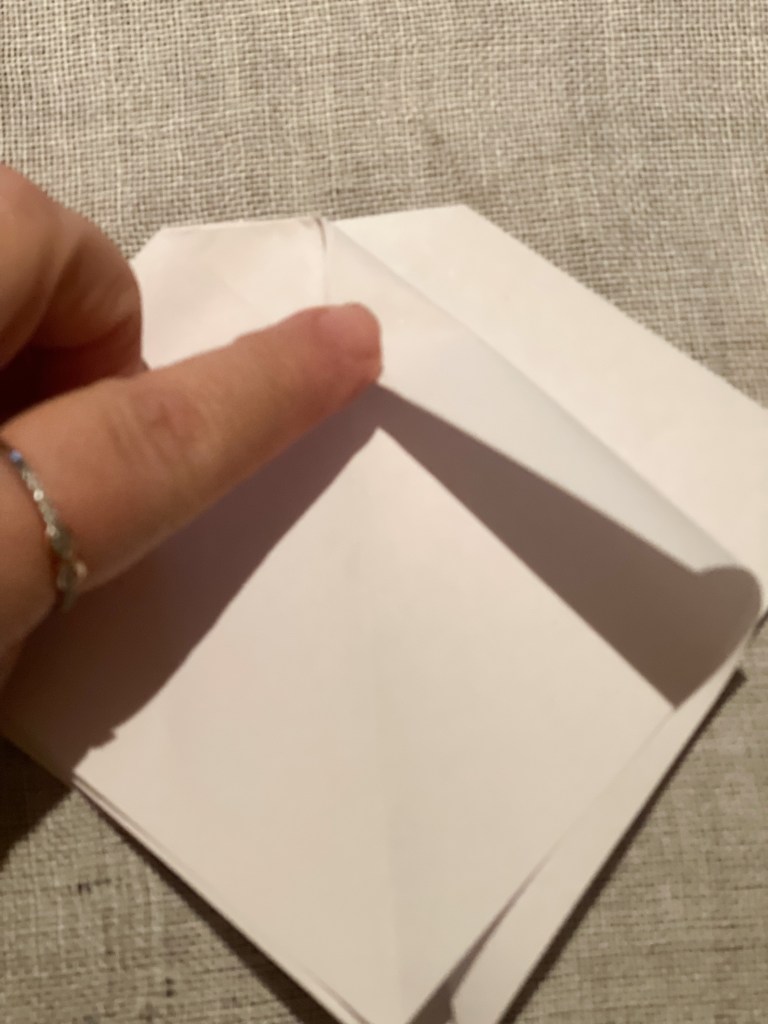
Open your paper completely like shown. As you can see there is a small square in the center and the creased lines are not the same direction. Fold those lines on the small square. That step will help us in the next step


As you can see my paper square is going in the same direction now and create that little dome. Push the small square down and tuck sided as it is shown in the last picture


Now you have square without that tip. We are so close to reveal our paper bow but before that you need to fold sided to the middle crease as it is shown in the picture below


Time to flip your paper and fold sides on the other side. Make sure that they are matching


Let’s see how our paper bow origami looks now
Time to open the paper ( not all the way.. just like it is shown in the picture below )and have a glimpse of our paper bow and its tails.

Super excited about this process.. You could see squares without corners on 2 different levels. It is time to cut at the folds of the raised portion as it is shown in the last picture


Those two pieces that you cut are your paper bow tails. After the cut you should be able to move the two pieces up and down. These two pieces will be the bow tails. Love me this point at the paper bow diy because all is starting to show. We are in the final stretch.

Let’s work on the sides of our paper bow. Fold the other edges slightly overlapping as it is shown in the picture


Repeat same folds on the other side

Let’s work on the bow tails, fold the edges in then cut both pieces at the center where you can see my scissors Make sure NOT TO CUT the small square on top


Let’s create nice profile to our paper bow tails. fold them on the back on each side as it is shown below

Fold the bow tip under the center square that we were taking care of throughout this whole paper bow tutorial. You could at this point add a bit a glue to a tip to make sure it stays intact


Our paper bow tutorial is done ready for gift wrapping. How beautiful and easy was that!

Make sure to watch RECAP OF THIS PAPER BOW TUTORIAL HERE
LET’S FOLD ANOTHER BOW
If you were like me starting with rectangular paper and had to cut down to square you most likely have a strip of paper that also makes cute bow. Let’s work on this one ..shall we?
Fold your paper in half, crease edge well


Cut on one side fish like shape with tiny mouth, full belly and spikey tail. That is how my Mom described it. Try to mimic that on the other side as it shows on the last picture


Cut a bit on each tail on p sides and snap those together to create a fish ..lol


press fishy mouth and expose a cute bow .. That is it! Easy right !


Secure with a strip of paper and you are done! How cute is that bow. Love it ! Nothing was wasted. Have to tell you my Mom was awesome! She taught me so many things.


Love folding paper. Check HERE my book pages folded tree
Here is my beautiful bow version made out of catalog page. How cool is that! I can for sure see them decorating my gifts this year. I so hope this post will inspire you to reuse and recycle what you have at home.


Don’t you just love this fun paper bow origami diy. Perfect paper bow for gift wrapping at least in my book as my Momma said


You are not going to believe how easy is to make this bow out of any scraps of material Have you tried to make a messy bow yet? I promise they are so easy


HERE are more ideas for you
Please Save This To Pinterest or Share on Social Media
Friends, your shares are how this site grows and I am sincerely grateful. A quick share to Facebook or save to Pinterest allows me to bring more home decor projects and crafts to more home decor DIY lovers.


