Shabby Chic Wine Bottle Decoupage
Did you know Decoupage is a traditional paper craft – the art of decorating an object by gluing colored paper cutouts. The word decoupage comes from the French verb decouper, ‘to cut out’. It was in the 17th century that the craft reached its height of popularity with aristocrats, noble ladies as well as the more humble practitioners trying out the art of decoupage. It is for sure a great way to add decor and interest to all sorts of items in your home. Are you ready to have fun with me and put my small bottle into Shabby Chic home decor accent? Do you know how to decoupage on glass? Join me for a fun glass bottle decoupage project
Supplies needed
This post may contain affiliate links. This means that if you purchase from one of the these links I will make a small commission, but rest assured you will not pay more for any products.
- Glass bottle
- Pretty designer napkin
- Mod-Podge
- Wooden Beads
- Twine
- Chalk Paint
Before we even begin I like to let you know that decoupaging is my passion. Love those little details, embellishments on almost anything. I decided to start our own SASSY NAPKIN CLUB where we can really have fun going deep into decoupaging. If you are interested you can SIGN UP HERE FOR MORE DETAILS

How to decoupage on glass
1. Prepare surface

Once you have selected your glass bottle to decorate make sure that it surface is clean of any stickers
2. Apply your paint

Cover your bottle with a coat of chalk paint. In my case it took 2 coats to have almost full coverage. Let it dry completely in between.
Choose your napkin…. that may be a difficult task at least for me

Just because napkin I chose to decorate my bottle with had some of goldish hues and had overall rustic organic feel I decided to add some of gold to the bottom.

2. Napkin install
Select your favorite portion of your napkin design and cut them out. Separate napkin ply’s . Apply thin coat of Mod- Podge and install the pictures in place.

smooth out bubbles that may possibly happen with a Saran Wrap. Perfect little tip to ensure your napkin will stay intact as you press on it

3. Distressing
This step is optional …. I simply felt that my bottle needed a bit more of character and decided to apply a bit of gold paint that I already had at the base. I chose to apply that coat after my Mod-Podge dried completely.
If you follow me for some time you know that I love to add little gentle embellishments to accent my home decor pieces even more. This time my choices were wooden beads strung on the simple twine.

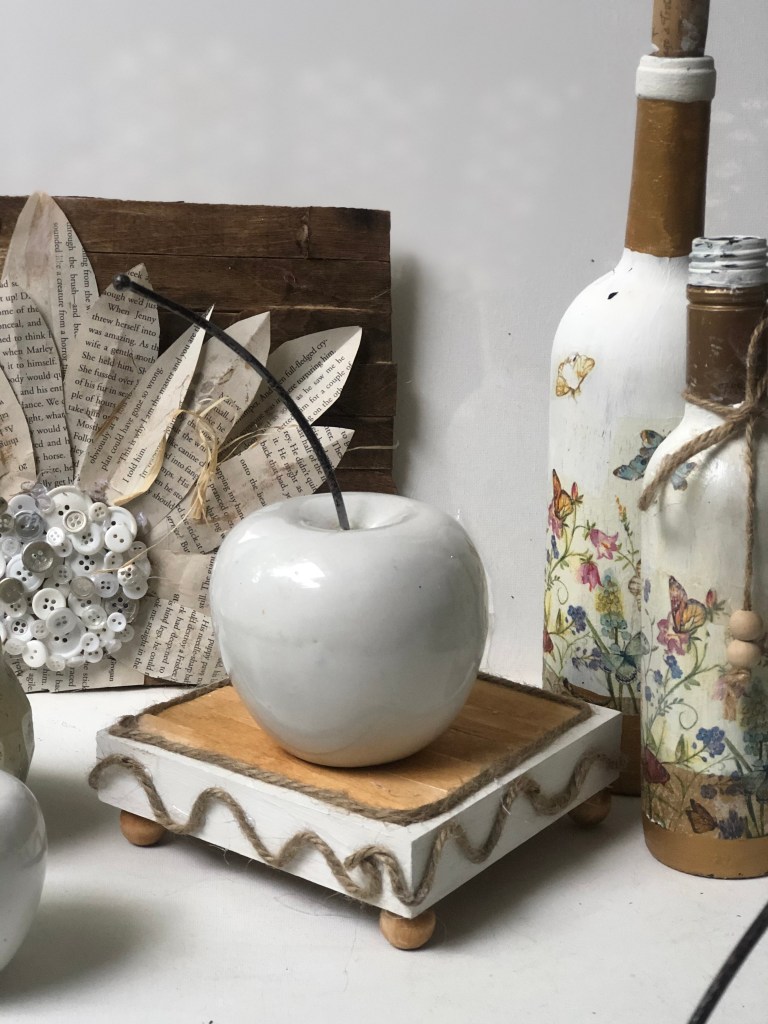
My Shabby Chic Home Decor glass bottle decoupage project is done! I had so much fun in this process and decided to make another one

I truly love my new addition to my home decor and it seams they fit in all of my vignettes


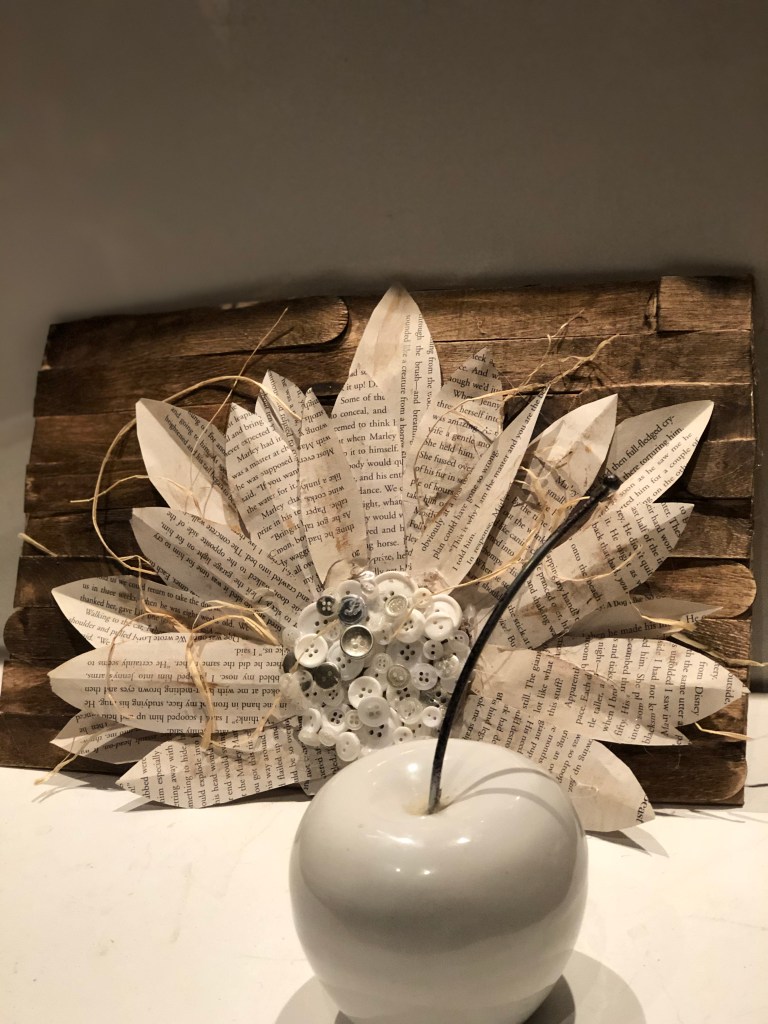
Full tutorial on Dollar Tree Flower PICTURE frame shown in the picture can be found HERE


Full tutorial on how I made that WOODEN RISER can be found in my Facebook VIDEO Vault HERE
SHABBY CHIC Pier1 wall decor DIY

Please Save This To Pinterest or Share on Social Media
Friends, your shares are how this site grows and I am sincerely grateful. A quick share to Facebook or save to Pinterest allows me to bring more home decor projects and crafts to more home decor DIY lovers

Other Shabby Chic projects that you may like to check on my BLOG or YouTube Channel
Rustic Wood Lantern DIY


